

Planting some tulips is one of the most enjoyable ways to pass some time this month. It offers the promise of vivid, saturated color to punctuate the winter months. Too often, however, the anticipation can turn to heartbreak, as early leaves emerge stunted, twisted, and scarred with spots. This is classic tulip fire: an aggressive fungal blight that leaves tulips looking as though they were scorched by an open flame.
The frustrating reality of tulip fire is that while symptoms appear in spring, the infection usually begins months earlier during
tulip planting. The pathogen enters unnoticed on dry bulb scales, or lies dormant in beds where infected tulips grew before. Once established, no post-planting drench or spray can save infected stems. Your best defense is prevention before your tulip bulbs go in the ground.
A few careful checks at planting time give next year's tulips a much better shot. Just a few proactive measures this fall will ensure that your tulips emerge clean, robust, and full of vibrant blooms. Here’s how to address the perils of tulip fire before it ever has a chance to cause problems – so you can look forward to spring with confidence.
What is Tulip Fire?
Tulip fire is a common tulip disease caused by the fungal pathogen Botrytis tulipae. While closely related to common gray mold (B. cinerea), which attacks soft fruits and perennials, B. tulipae is host-specific and targets tulips almost exclusively. This host specificity is an advantage for gardeners. If you deny the fungus its preferred host for 3-4 seasons, resting populations in the soil gradually starve and decline.
Recognizing early symptoms is key to containment. In early spring, infected bulbs send up stunted, crumpled shoots known as fireheads. These sickly stems become blanketed in fuzzy gray fungal spores that blow or splash onto neighboring plants during cool, rainy weather. Tiny, water-soaked flecks quickly spread across foliage, coalescing into scorched brown blotches, while flower buds rot before opening. Wet spring conditions across USDA hardiness zones 3-8 accelerate spore dispersal, and can turn an isolated infection into an outbreak within a week.

(Image credit: Jazz Love / Alamy)
Most cultivated tulip hybrids are at risk in damp, overcrowded conditions. However, species tulips with lower profiles (like Tulipa clusiana or T. tarda) and sturdy Darwin hybrid varieties demonstrate better resilience than dense, double-flowered late types. If you’re still deciding which bulbs to get, try bold Red Darwin Hybrid Tulip Bulbs from Amazon for weather resistant stems, and dreamily elegant Salmon Impression Darwin Hybrid Tulip Bulbs from Plant Addicts for natural vigor. Here's how to prevent your tulips turning into fireheads. Grab your bulbs and get ready!
How to Prevent Tulip Fire
(Image credit: Kabar / Shutterstock)
Preventing tulip fire adds only a few minutes to your fall planting routine, but the benefits are immeasurable. Proactive defense focuses on basic cultural care: thoughtful checks, site and timing prep, and ample airflow. The following simple checks take just a little extra preparation, providing peace of mind and protecting your spring displays long before the first green shoots pierce the soil…
1. Inspect Every Bulb Before Planting
(Image credit: Santje09 / Getty Images)
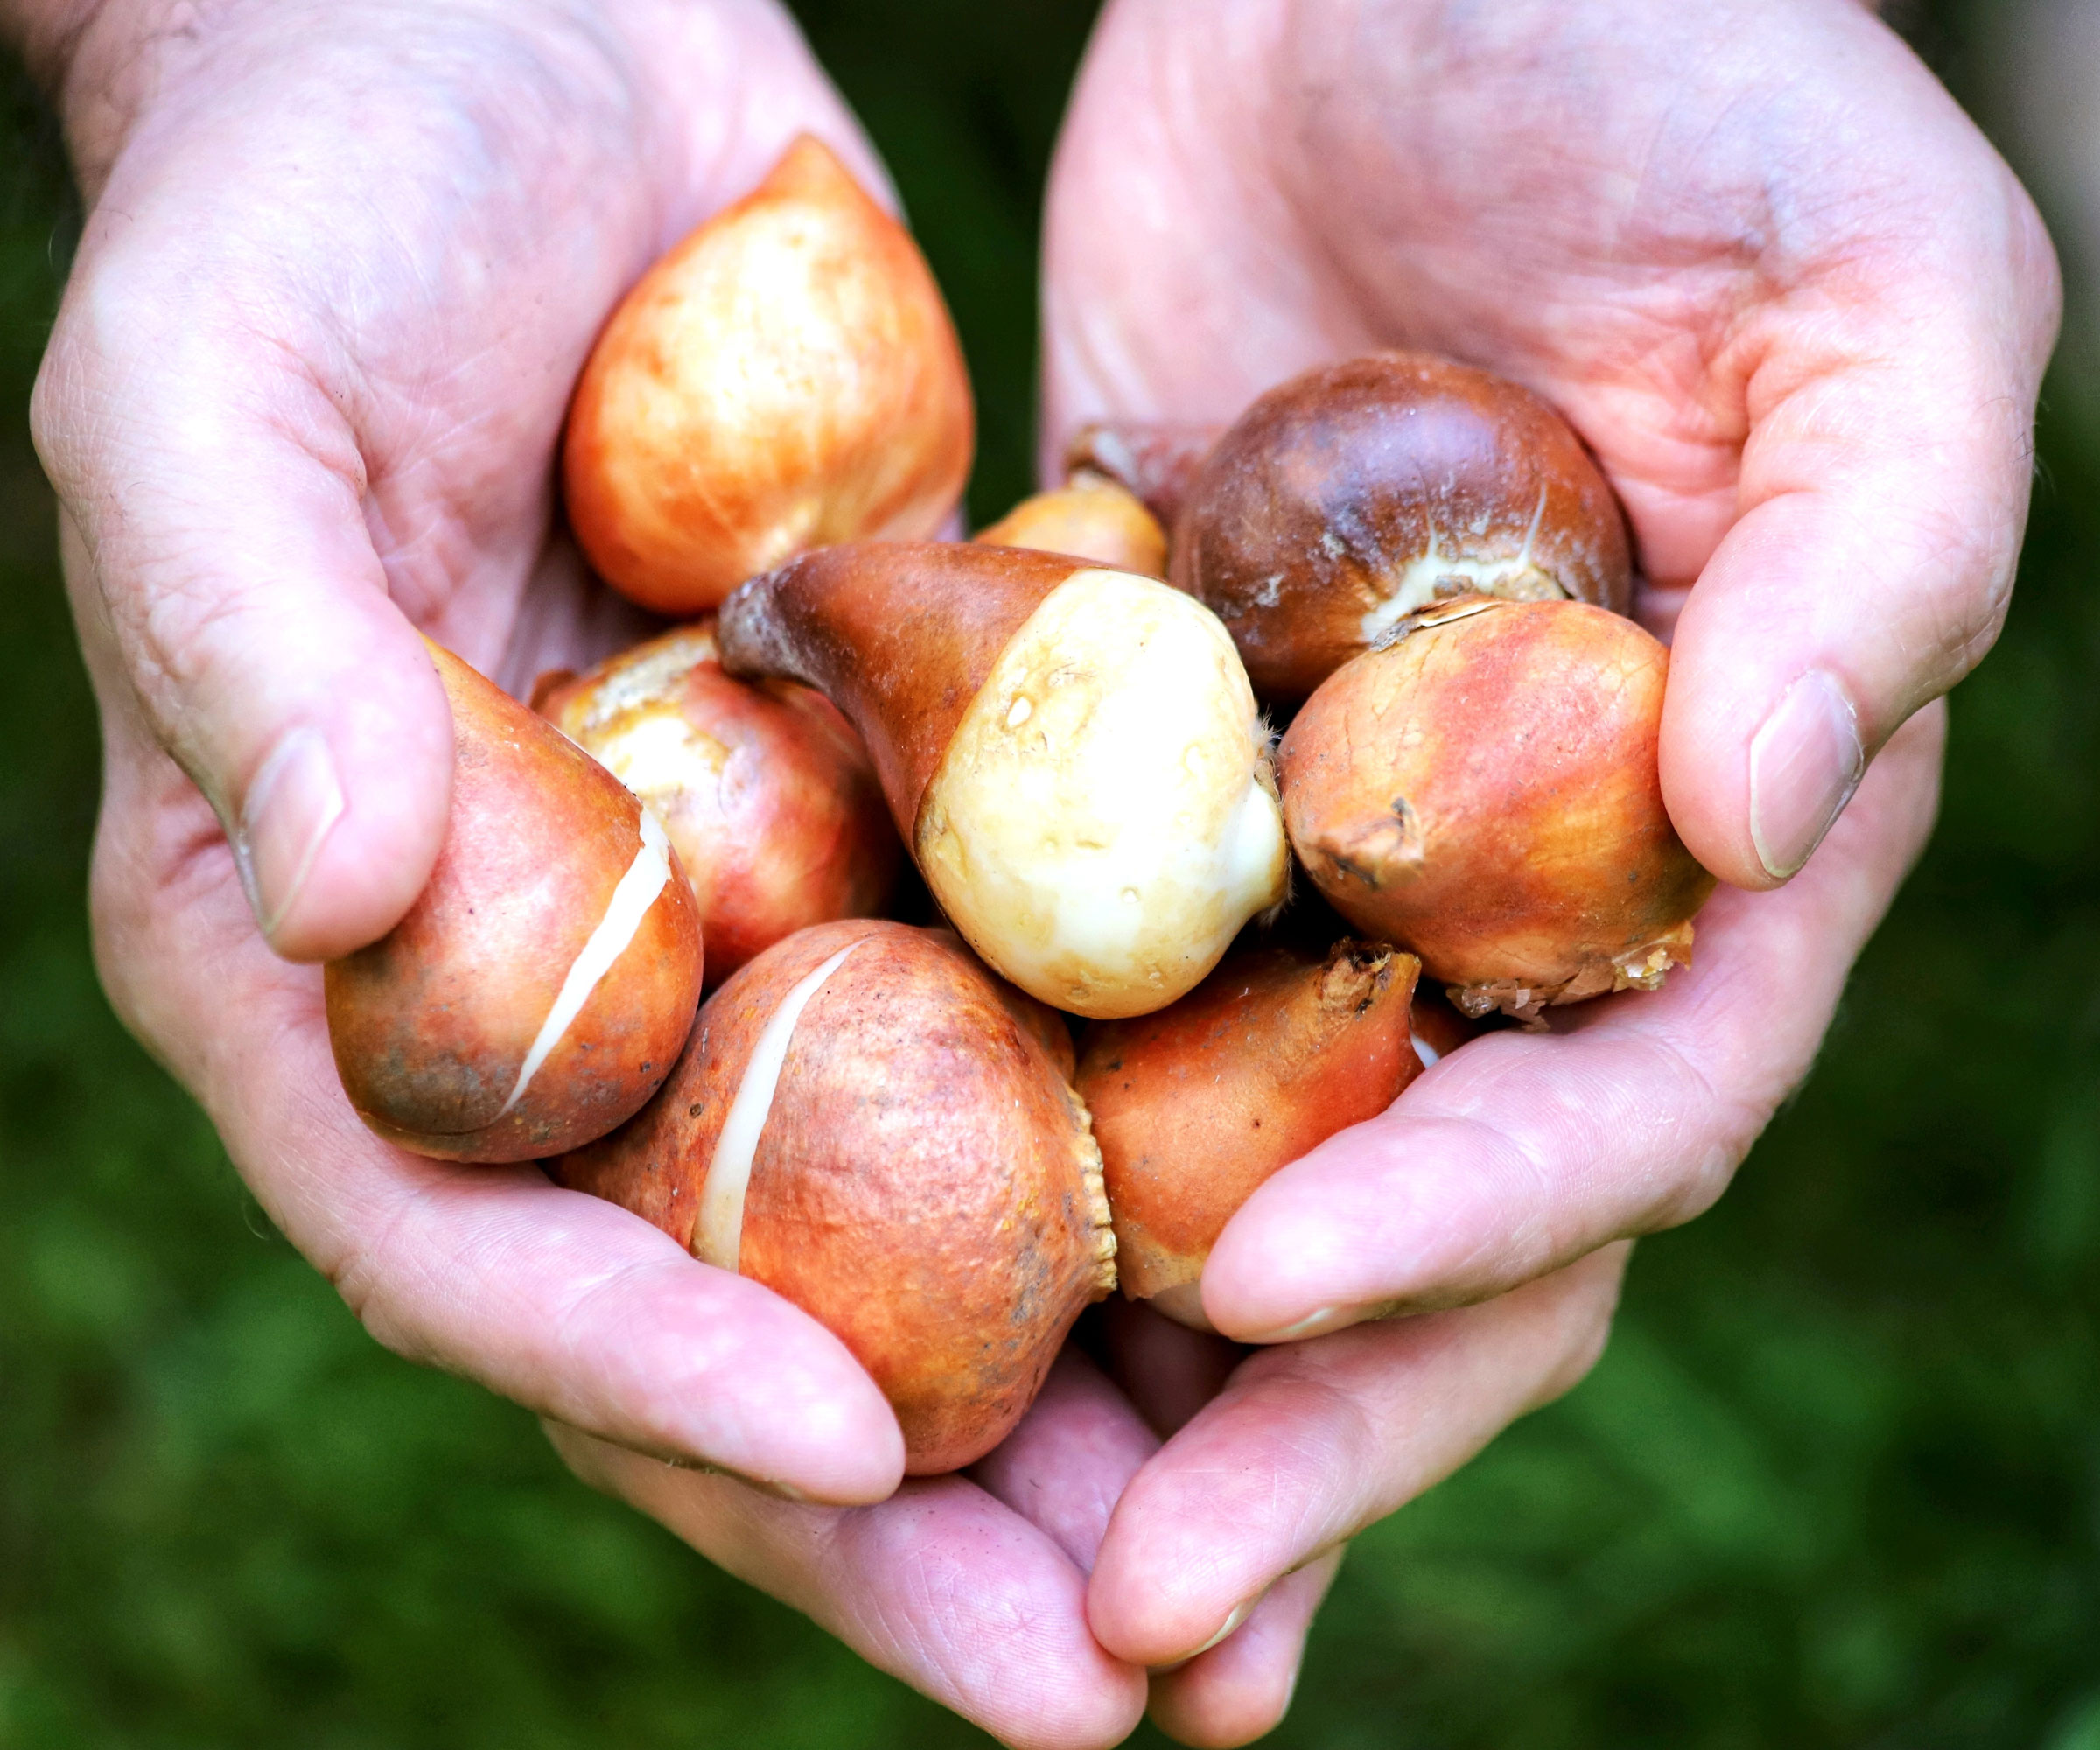
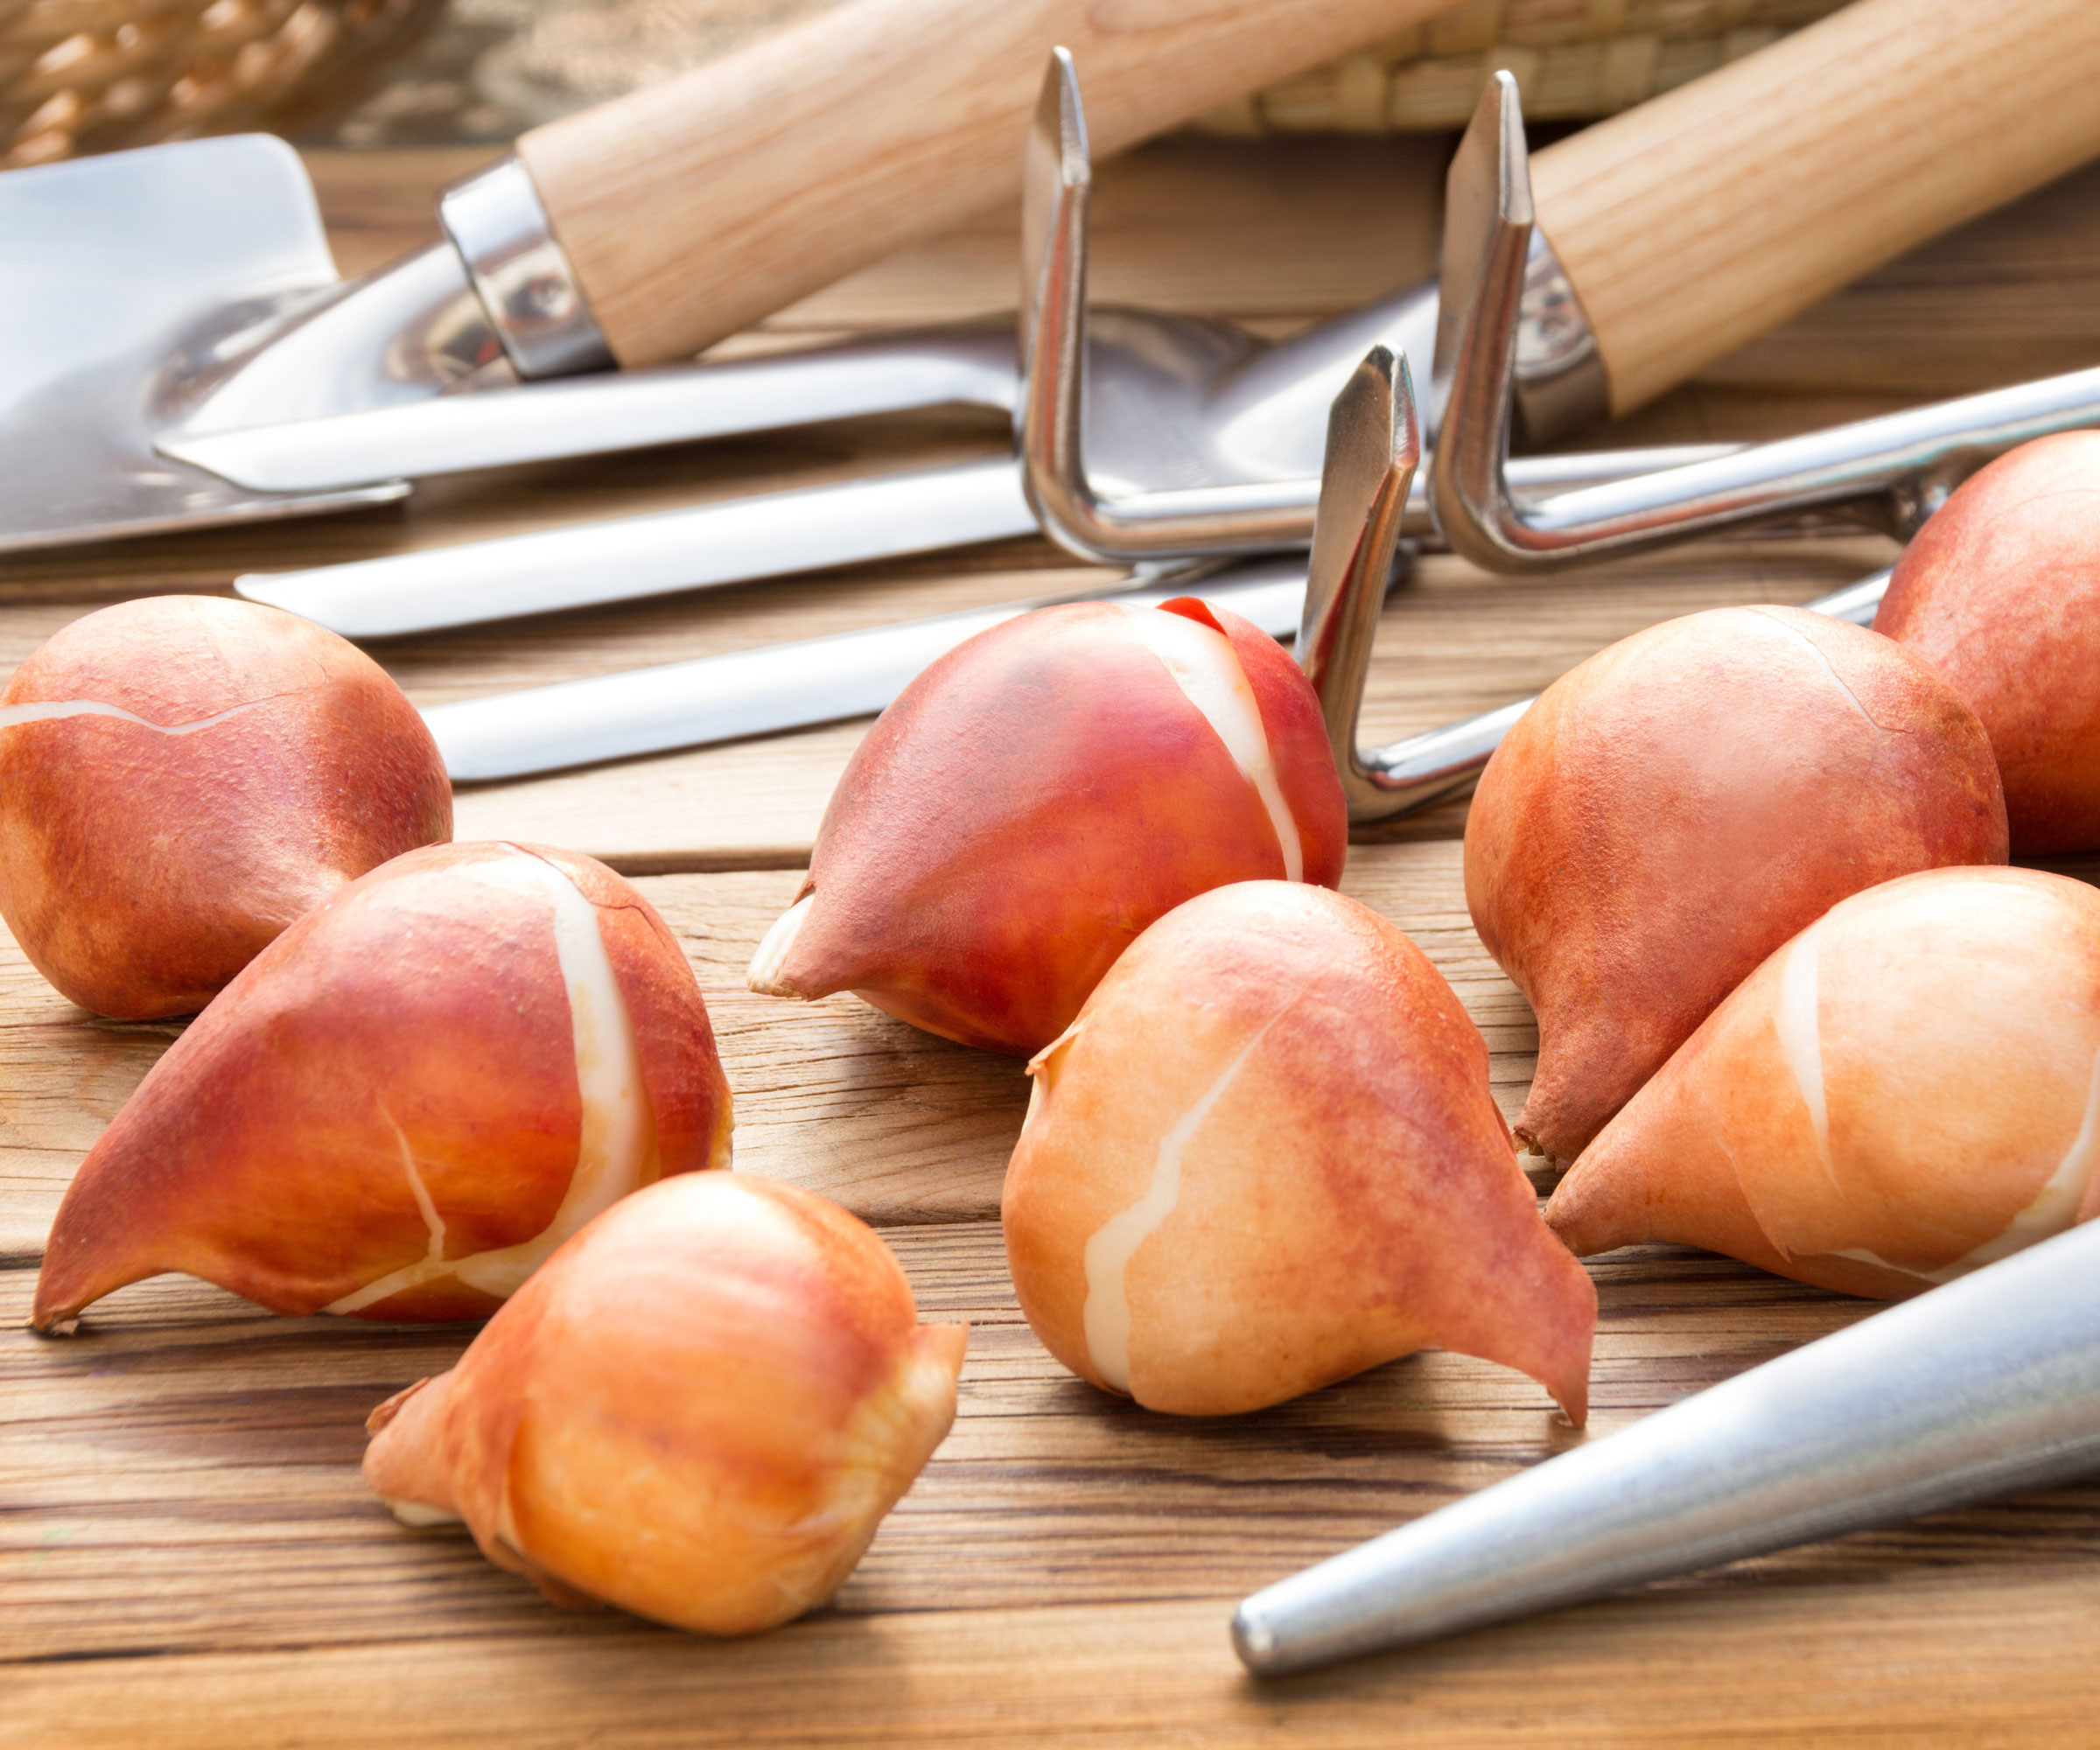
Before planting your bulbs, empty your bulb bags onto an outdoor potting bench or table, and inspect each one individually. A healthy, viable tulip bulb should feel solid, firm, and dense, with an intact papery outer tunic. Gently press the base plate and tip with your thumb. Any that give under your thumb, show mold, feel spongy, or have sunken yellow-brown patches should go in the trash.
Next, peel back a section of the papery tunic. Look carefully for sclerotia: tiny, hard, black or dark-brown resting bodies that resemble crushed pepper or poppy seeds. To help get a better look up close, the Jarlink 30X 60X Illuminated Jewelers Loupe, available from Amazon is equipped with bright LED illumination to check for those black sclerotia specks, as well as hidden scale lesions. These small sclerotia carry the tulip fire fungus between seasons. If you detect black specks or lesions, bag the bulb and throw it in the trash. Never toss diseased stock into home compost piles.
2. Plant Late in the Season
(Image credit: Getty Images)
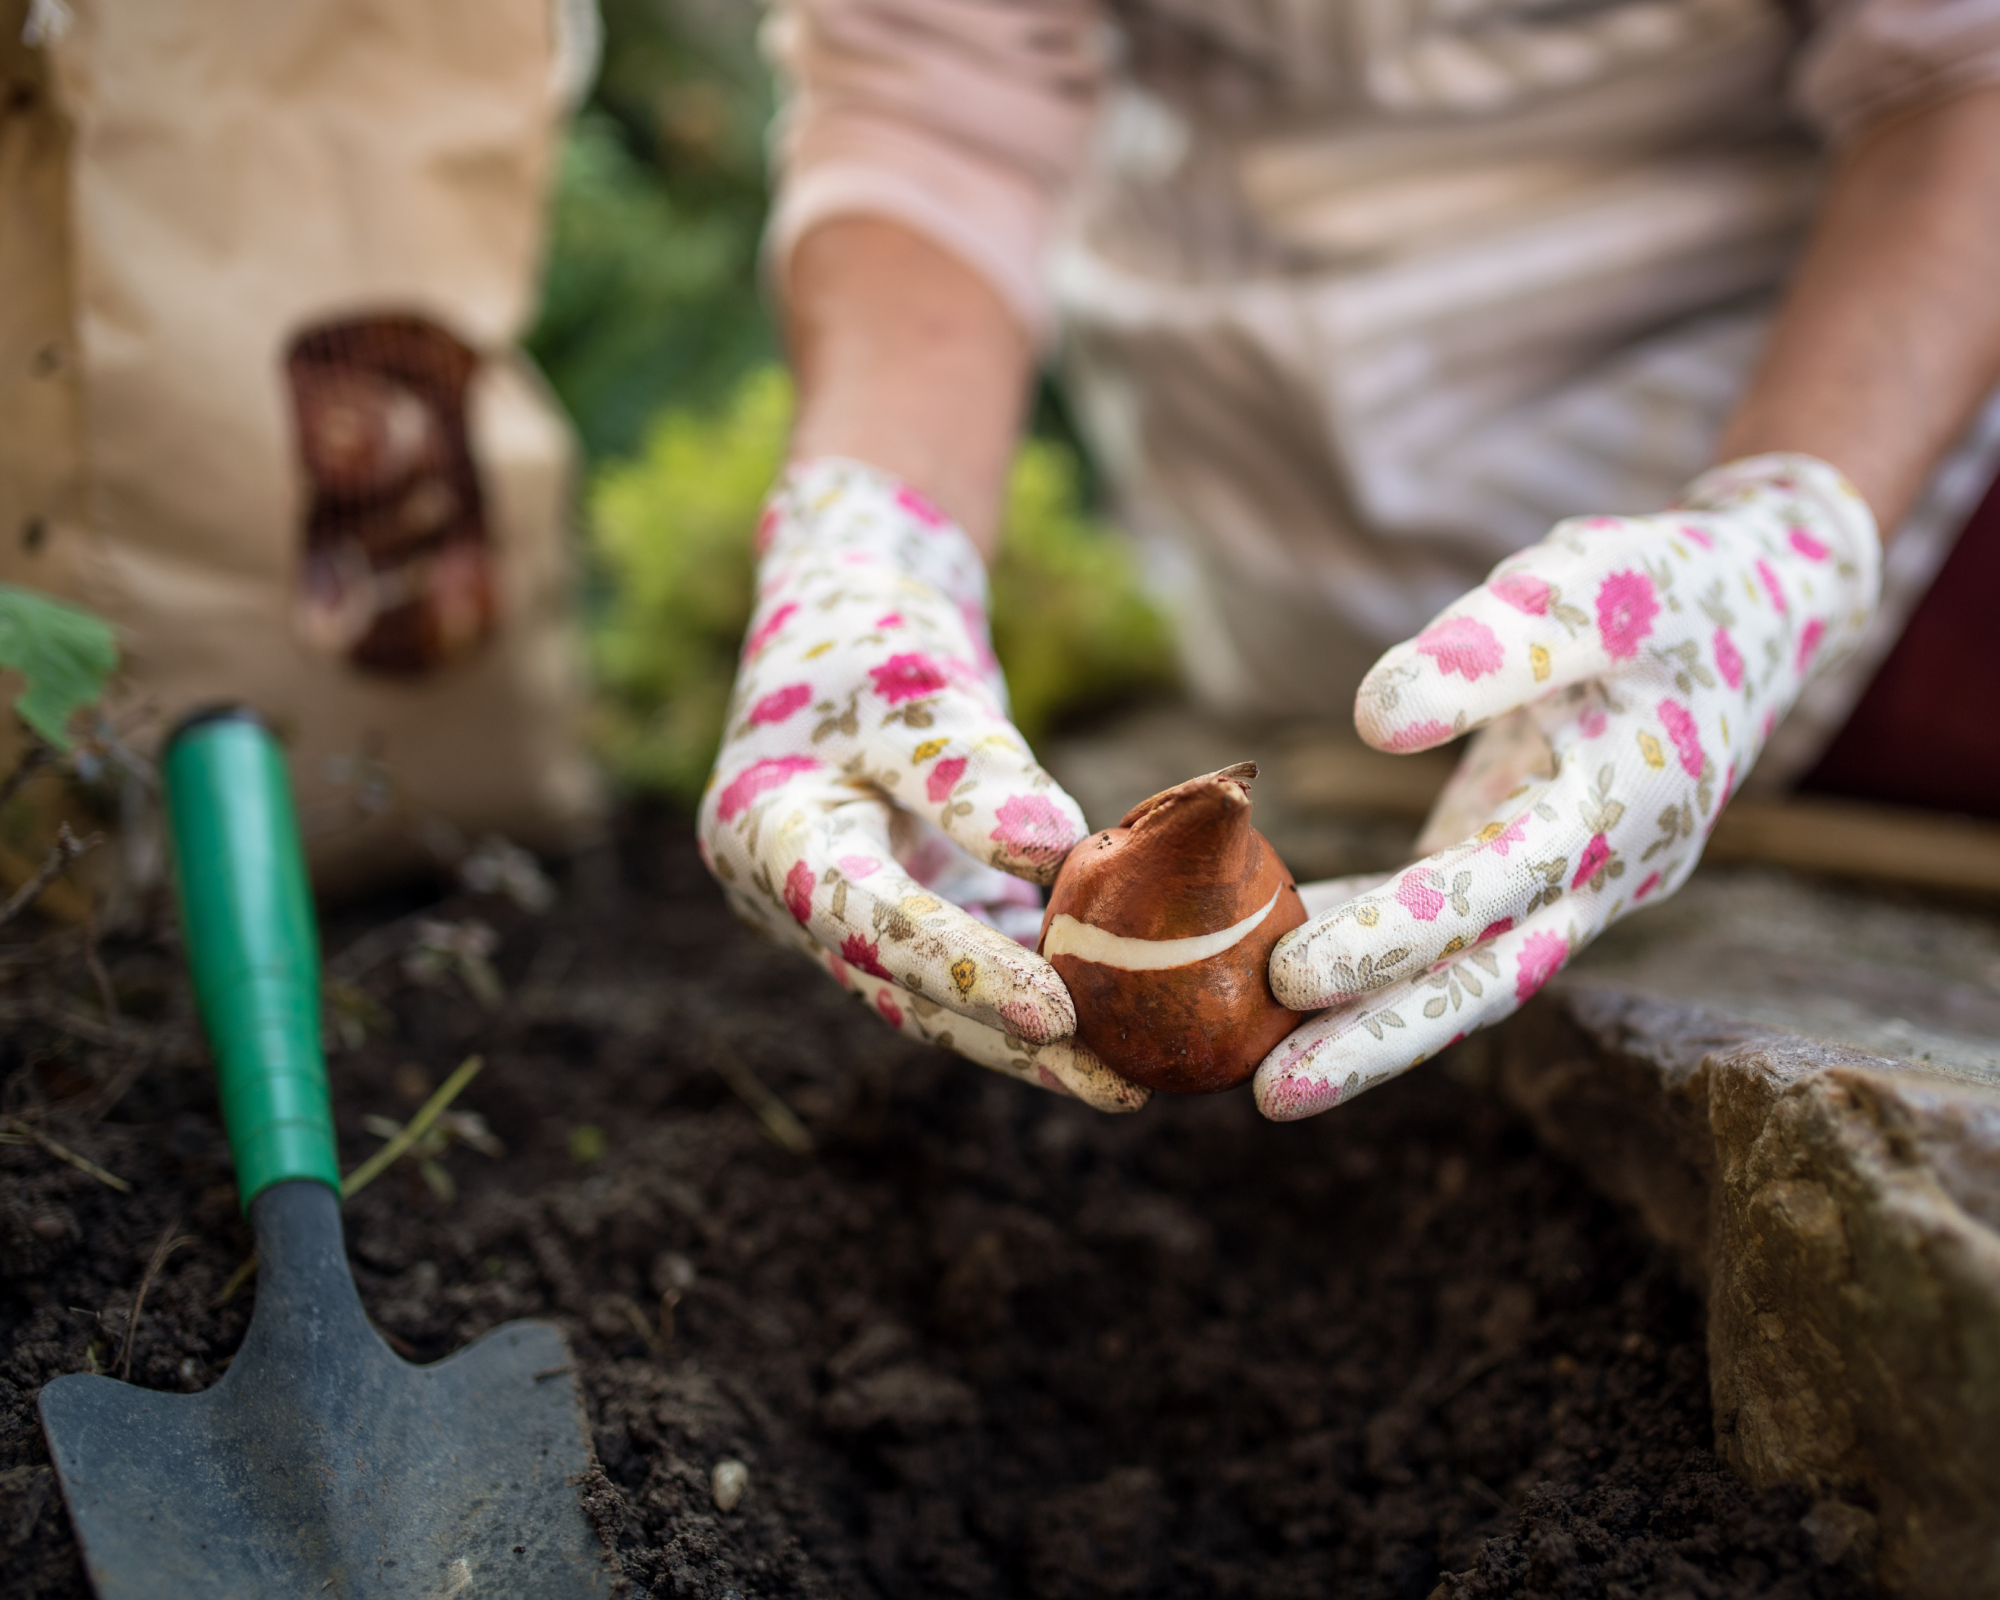
Resist the urge to plant your tulips while the ground is still warm. Botrytis tulipae fungal spores and resting sclerotia thrive in mild, damp soil conditions between 50°F and 65°F (10-18°C). Planting prematurely exposes bulbs to active soil-borne pathogens before the bulbs can establish robust roots. Delay your tulip planting until mid-to-late November or early December across most regions, after several hard overnight frosts have chilled the ground.
Soil temperatures should consistently measure below 50°F (10°C) at 6 inches (15cm). Cold soil suppresses fungal activity and forces dormant spores into inactivity. Planting after the first hard frosts is one of the most effective defenses against tulip fire. Even if an early frost hardens the surface, the soil beneath remains workable. Using a long-handled bulb planter like the Jardineer Bulb Transplanter from The Home Depot works well even in frost-encrusted fall soils.
3. Rotate Beds and Use Containers

(Image credit: Olga Dobrovolska / Getty Images)
Soil hygiene and thoughtful rotation are critical defenses against tulip fire. If your border suffered from tulip fire last spring, millions of sclerotia will have been shed into the earth as the leaves and flower petals decomposed. These resting bodies can survive in loam for 3-5 years, waiting to infect any new tulips that push up through the contaminated soil, and start the cycle all over again. Give that bed at least 3 years without tulips, and plant new bulbs somewhere that's never had the disease. Fill affected borders with non-host species that tulip fire cannot infect, such as daffodils (narcissus), alliums, grape hyacinths (muscari), or crocuses.
If bed space is tight, containers are an easy workaround. Transition your tulips into patio containers. However, always dump out old potting soil, sanitize containers with a dilute vinegar or mild bleach wash, and plant in fresh, sterile soilless potting mix enriched with perlite. A lovely blend is Espoma Organic Potting Mix, available from Walmart, which is free of garden pathogens, and gives a low-release nutrient boost.
4. Choose a Well-Drained Planting Site
(Image credit: CJP / Getty Images)
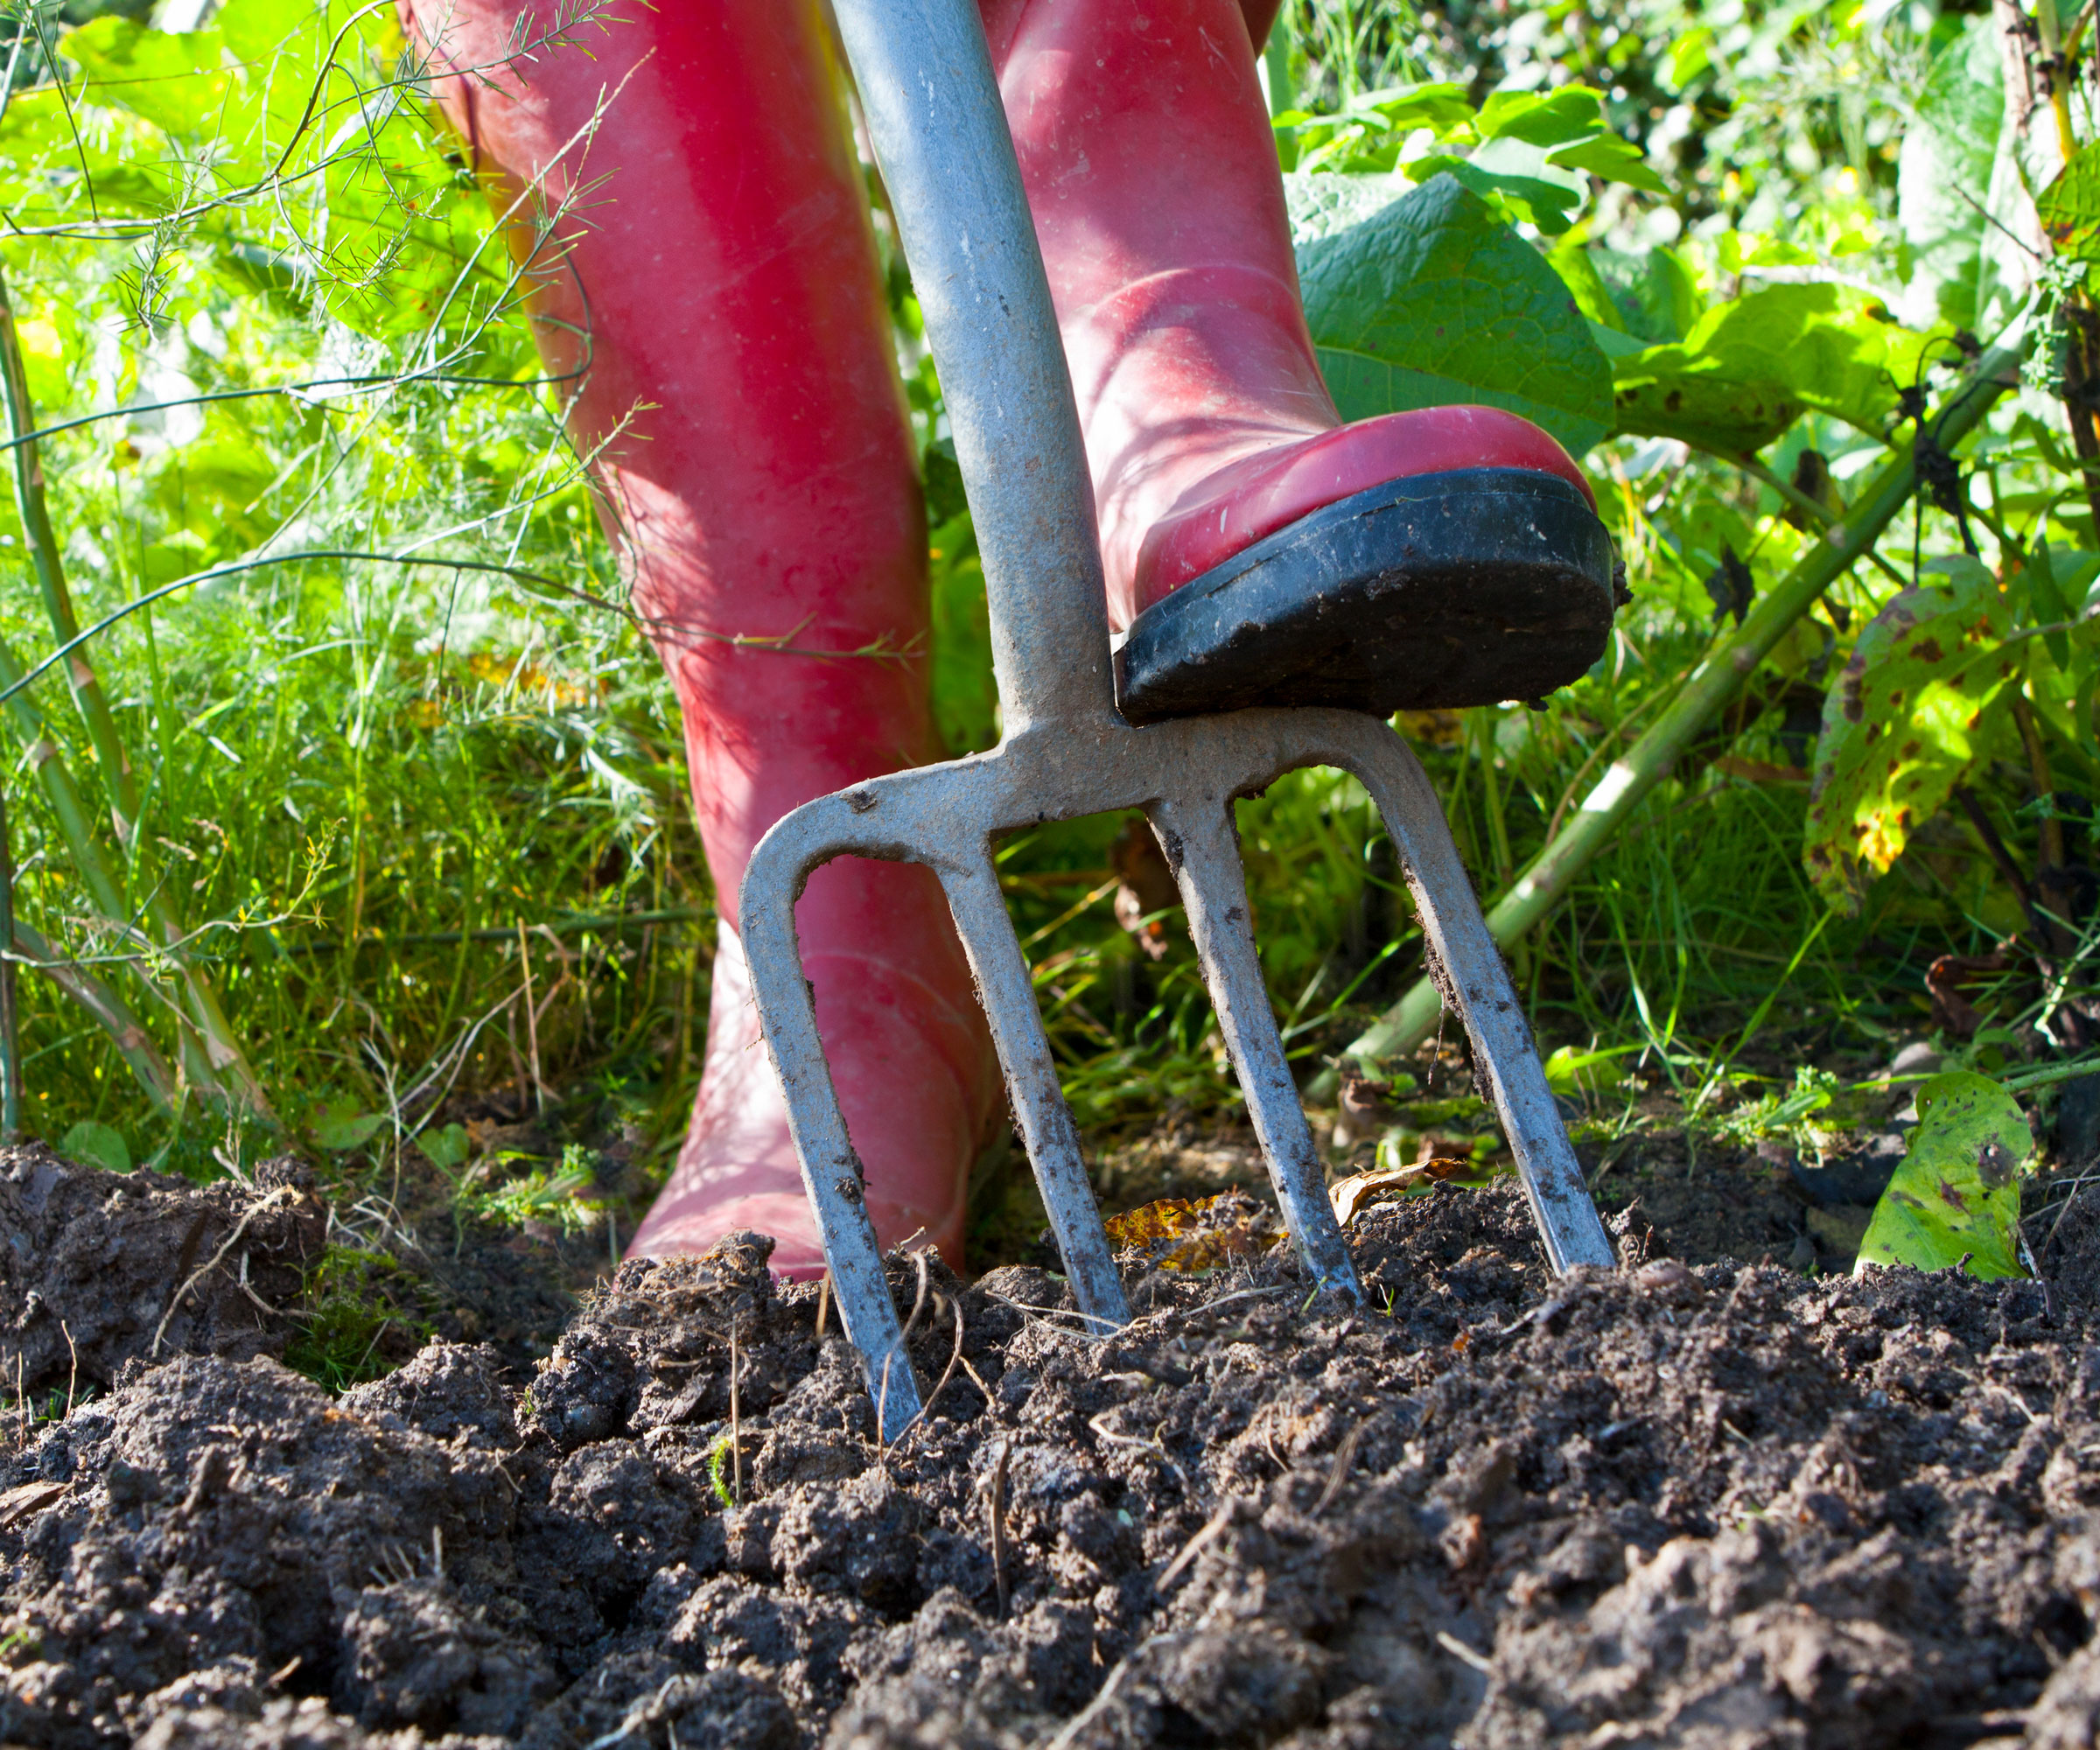
A bulb that sits in soggy ground all winter is in trouble, whether tulip fire shows up or not. Good drainage is critical. Tulip bulbs thrive in moisture, but can rot quickly in stagnant water. Planting in heavy, compacted clay or low-lying depressions also creates damp conditions where fungal spores multiply rapidly. Check your planting site a day or so after a soaking rain. Water that is still standing there, or dirt that balls up and sticks to your boots, means the spot would drain too slowly for tulips.
Select a planting site situated on high ground or a gentle slope. If you garden on heavy clay, avoid digging individual narrow holes. Instead, excavate the whole planting area 8-10 inches (20-30cm) deep. Blend some horticultural grit or coarse sand into the soil to help with drainage. Alternatively, for persistently soggy gardens, skip the fight and grow your tulips in containers or raised beds. You can get small bags of best-selling Miracle-Gro Perlite from The Home Depot for just a few dollars, and sprinkle a few handfuls into the planting site (or use it in your containers!).
5. Space Bulbs Generously

(Image credit: CHUNYIP WONG / Getty Images)
Crowded planting designs may look lush in magazine spreads, but tightly packed bulbs create stagnant, humid conditions. After a few years, offsets and daughter bulbs fill in a bit more each season, and after a while the leaves will crowd each other. If tulips are jammed together, leaves that touch will stay wet longer after rain or a heavy dew, and spores won't have far to go to get from one plant to the next.
Give your tulips room to breathe by spacing bulbs 4-6 inches (10-15cm) apart in all directions. Make sure the planting site is not jammed against a fence or the side of the house. Choose open, sunny sites with steady airflow. Use jute twine like Vivifying Natural Jute from Amazon looped around some wooden stakes to help mark your plantings. Also, if you are naturalizing tulips in mixed borders, lift and divide dense perennial clumps every few years before planting your bulbs.
6 Keep Area Free of Debris

(Image credit: Malorny /Getty Images)
Old tulip leaves don't just vanish when they're left on the soil. On plants that were sick, fresh sclerotia form on the dying tissue and drop into the bed, and they can stay there until tulips come up through that ground again. Infected leaves, decaying stem bases, and dropped flower petals all produce fresh sclerotia as they wither. Left untouched, it decomposes into the topsoil, recharging the fungal spore bank.
Before planting new bulbs, do a fall cleanup. Rake through your beds and clear out old leaves, spent stems, and decayed organic matter. Pull back mulch to inspect the soil, discarding any dried plant remnants and flower parts from the previous growing season. Make sure you bag these remnants instead of composting them. You can buy best-selling Fabulas Yard Waste Bags from Walmart in triple packs.
In spring, you need to stay proactive. Deadhead any spent flowers off suspect plants before their petals drop onto lower foliage, and clear out leaves and stems from anything that shows symptoms. Dig up any twisted firehead shoots, including the bulbs and adjacent soil. Do this the moment symptoms appear to keep airborne spores from spreading. Cleanup won't necessarily promise a clean bed, but it ensures there's a lot less fungus left behind to start the next round.

(Image credit: Elena Tcykina / Getty Images)
Once tulip fire takes hold in an established bed, it is one of the most persistent and frustrating bulb diseases to eradicate. So this fall care routine is massively beneficial in helping to break the fungal life cycle before it can cause damage. Take the right steps now when planting, and then you just have to wait for those first green shoots and a vibrant, spotless tulip display in spring.
Need more ideas for getting the most from your plants, indoors and out, and looking for the best seasonal expert advice delivered straight to your inbox? Sign up for the free Gardening Know How Newsletter!
















 English (US) ·
 French (CA) ·